Reference Link : http://www.bootes.co/EN/Articles/Dynamics-365-for-Finance-and-Operations-Extensible-Controls-Server-Side-to-Client-Side-and-Back.aspx
Below details from above source


Below details from above source
In this article we're going to show you how a simple extensible control that's controlled by a data source and a grid control on a form works. The user will select a record on the form and the associated picture will be displayed in the extensible control.
If you do not have any previous experience with Dynamics 365 for Finance and Operations Extensible Controls it is highly recommended that you go through this tutorial:
It will explain the basic concepts surrounding extensible control development in Dynamics 365 for Finance and Operations.
Getting Started.
1. Download the project file for the control:
2. Unzip the file in your development Virtual Machine.
3. Import the project file into visual studio, in a new solution:
4. Build the solution.
5. Synchronize the database.
6. Run the project by pressing F5 or Debug -> Start Debugging.
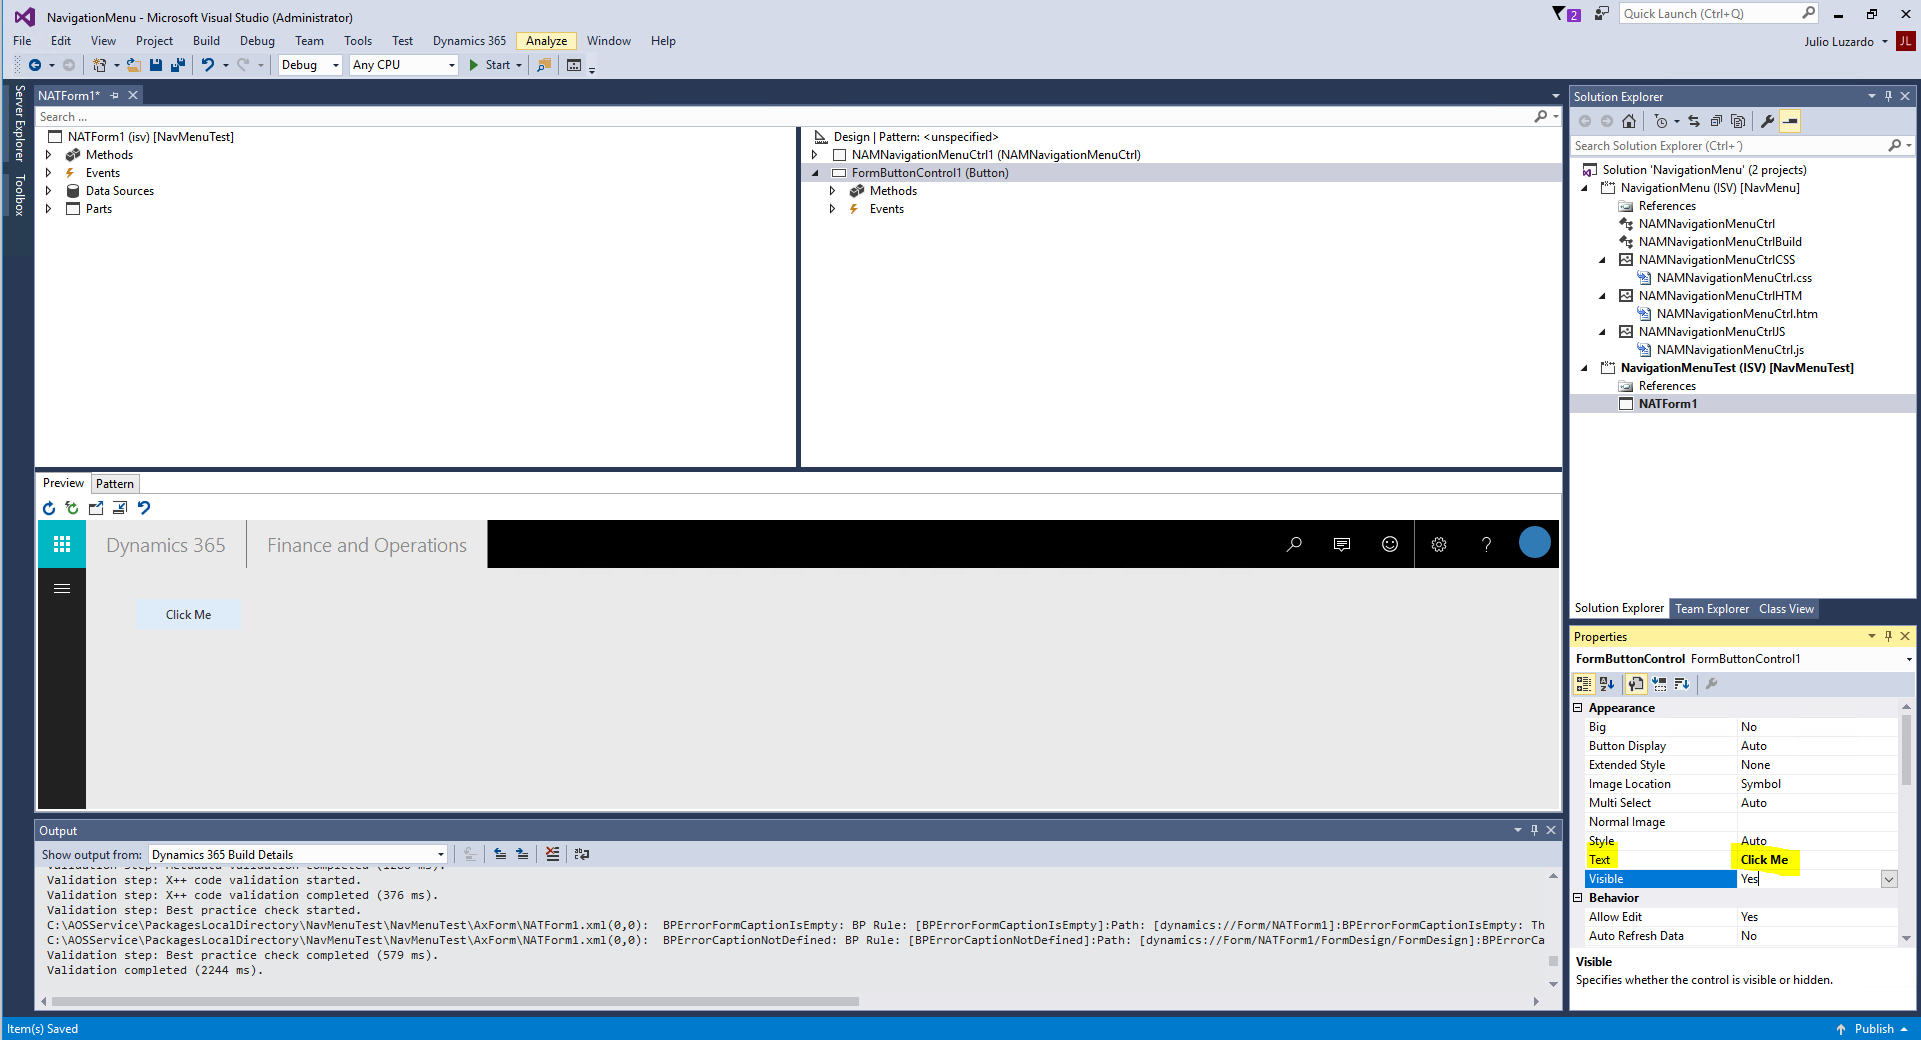
7. In the Action pane at the top of the page click on the "Create Data" button.
8. Jump from record to record and see how the image on the right is updated accordingly.
How it Works.
    [DataSource]
    class DBImageXCtrlTable
    {
        /// <summary>
        ///
        /// </summary>
        /// <returns></returns>
        public int active()
        {
            int ret;
            ret = super();
            DBImageXCtrl oDBImageXCtrl1 = DBImageXCtrl1;
            oDBImageXCtrl1.Key(DBImageXCtrlTable.iKey);
            return ret;
        }
    }
When you're switching records in the grid the "active" method for the "DBImageXCtrlTable" data source is being called. The "active" method is calling a property getter/setter called Key in the X++ runtime class.
    [FormPropertyAttribute(FormPropertyKind::Value, "Key")]
    public int Key(int _iValue = m_iKey.parmValue())
    {
        m_iKey.setValueOrBinding(_iValue);
        return m_iKey.parmValue();
    }
This Key getter/setter in the X++ runtime class (the "DBImageXCtrl" class) has a FormPropertyAttribute and is participating in the observable pattern in JavaScript on the client.
        DBIC.YieldCallFunction = function (_iKey) {
            var oParams = { _iKey: _iKey };
            $dyn.callFunction(self.GetImage, self, oParams, DBIC.ChangeImage);
        }
        $dyn.observe(this.Key, function (_iKey) {
            window.setTimeout(DBIC.YieldCallFunction, 0, _iKey);
            //You have to yield the code. If you eliminate the line above
            //and uncomment the following two will, the control will not work.
            //var oParams = { _iKey: _iKey };
            //$dyn.callFunction(self.GetImage, self, oParams, DBIC.ChangeImage);
        });
Every time the Key property value changes the code above gets triggered in JavaScript (the $dyn.observe) . This code that is getting triggered is calling a method that is in the X++ runtime class called GetImage and receiving the results from GetImage in a function called DBIC.ChangeImage. But it is not calling the method directly, it is calling the method asynchronously by using window.setTimeout in a process known as code yielding. If it were to call the method directly the first image would be loaded but in subsequent "activate" calls you would get this error in the console of your browser:
And the image would not change. You can try uncommenting the commented lines and removing the first line in the method and you'll notice the effect.
    [FormCommandAttribute("GetImage")]
    public str GetImage(int _iKey)
    {
        DBImageXCtrlTable oDBImageXCtrlTable;
        container oImage;
        str sURL;
        select * from oDBImageXCtrlTable where oDBImageXCtrlTable.iKey == _iKey;
        DBImageXCtrlDataContract oDBImageXCtrlDataContract = new DBImageXCtrlDataContract();
        if (oDBImageXCtrlTable)
        {
            oImage = oDBImageXCtrlTable.cImage;
            oDBImageXCtrlDataContract.URL(conPeek(oImage, 3));
        }
        str sReturn;
        sReturn = FormJsonSerializer::serializeClass(oDBImageXCtrlDataContract);
        return sReturn;
    }
The get image method reads the URL of the image from the database and serializes it JSON and returns it to this JavaScript function (which was specified as the call back function in the $dyn.callFunction's last parameter):
        DBIC.ChangeImage = function (_sJSON)
        {
            var oObject = $.parseJSON(_sJSON, true);
            $(element).empty();
            $(element).append("<img src='" + oObject.URL + "' />");
        }
This JavaScript empties the main div for the control and creates a new image object with the new URL.
Instead of all this back and forth between X++ (server-side)/Javascript (client-side), why not just simply have a string URL property in the X++ runtime class? You can do it too, but because there is a limit on the size of observable properties URLs might get truncated. There's also a limit on the size of the return of a method but it's much higher.
Apendix A – Creating the demo files manually
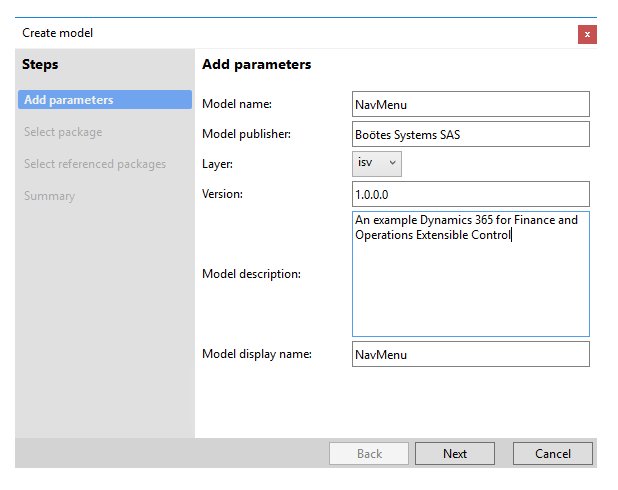
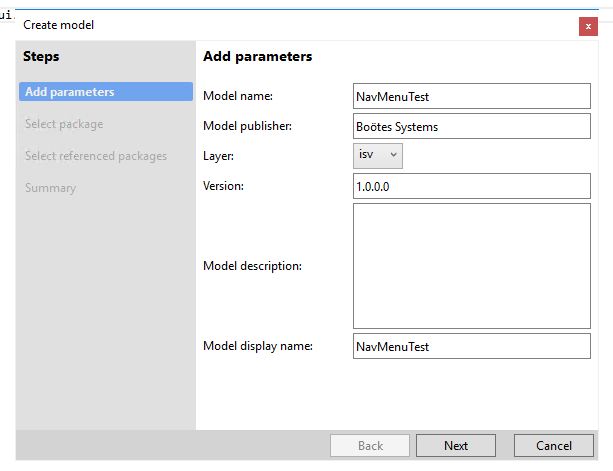
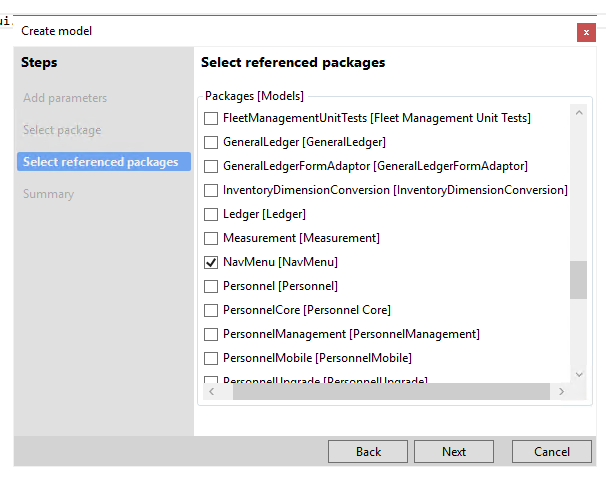
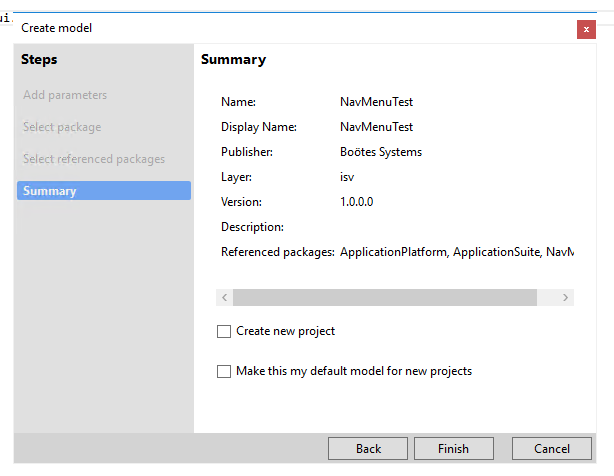
Create a new model with the following specifications:
| Name: | DBImageXControl |
| Layer: | ISV |
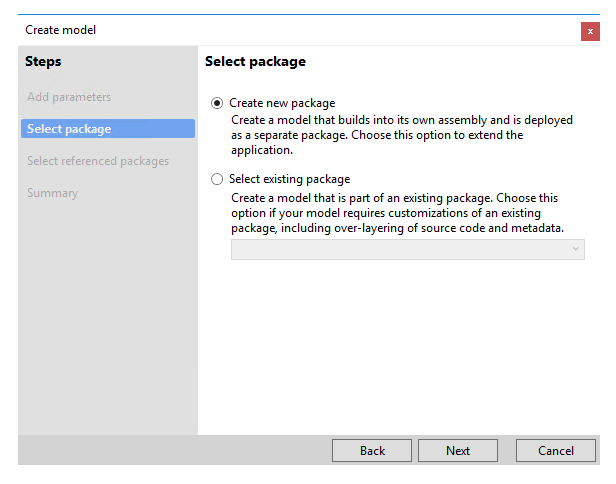
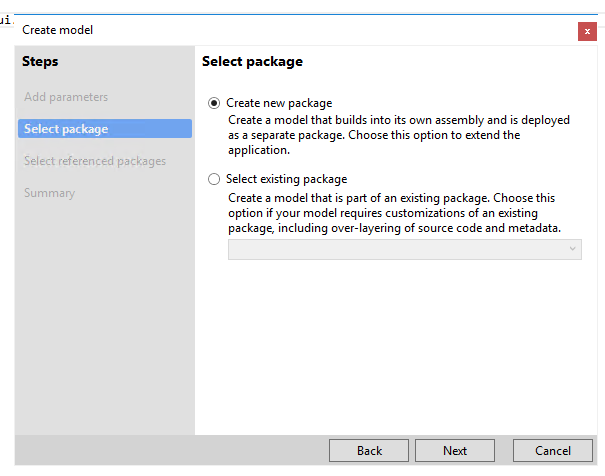
| Package: | Create in New Package |
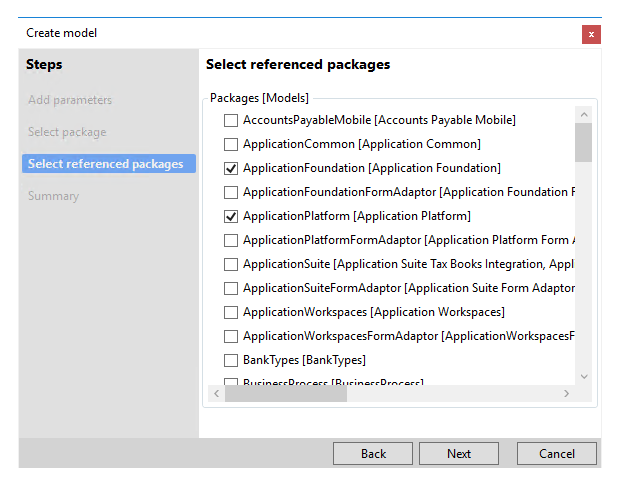
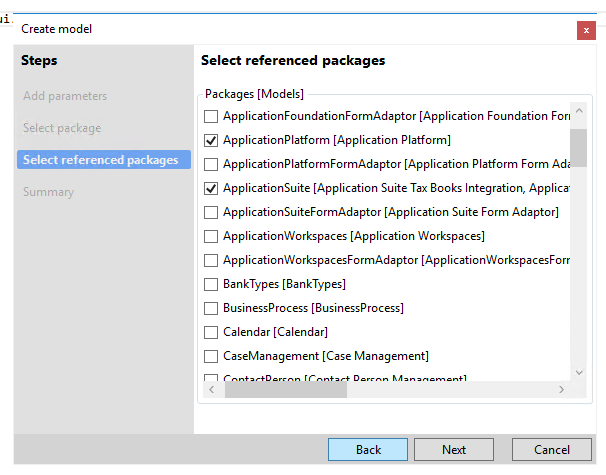
| References: | ApplicationPlatform, ApplicationFoundation |
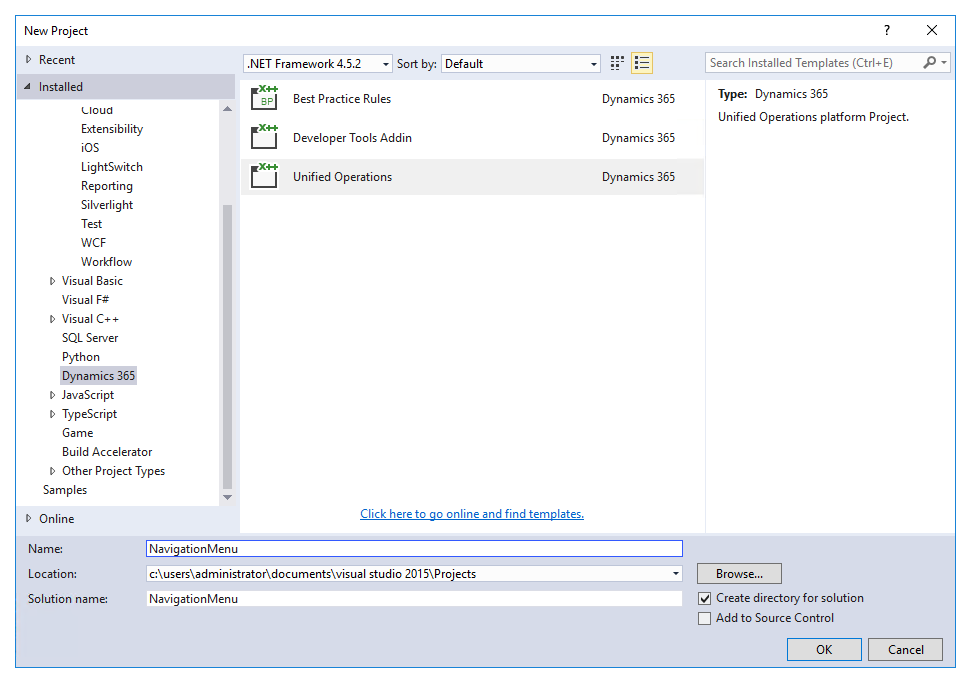
Create a new Dynamics 365 Unified Operations project called DBImageXControl inside the model you've created previously.
1. Create an X++ runtime class called "DBImageXCtrl" with the following code:
[FormControlAttribute("DBImageXCtrl","",classstr(DBImageXCtrlBuild))]
class DBImageXCtrl extends FormTemplateContainerControl
{
    private FormProperty m_iKey;
    protected void new(FormBuildControl _build, FormRun _formRun)
    {
        super(_build, _formRun);
        this.setResourceBundleName("/resources/html/DBImageXCtrl");
        m_iKey = this.addProperty(methodstr(DBImageXCtrl, Key), Types::Integer);
    }
    [FormPropertyAttribute(FormPropertyKind::Value, "Key")]
    public int Key(int _iValue = m_iKey.parmValue())
    {
        m_iKey.setValueOrBinding(_iValue);
        return m_iKey.parmValue();
    }
    [FormCommandAttribute("GetImage")]
    public str GetImage(int _iKey)
    {
        DBImageXCtrlTable oDBImageXCtrlTable;
        container oImage;
        str sURL;
        select * from oDBImageXCtrlTable where oDBImageXCtrlTable.iKey == _iKey;
        DBImageXCtrlDataContract oDBImageXCtrlDataContract = new DBImageXCtrlDataContract();
        if (oDBImageXCtrlTable)
        {
            oImage = oDBImageXCtrlTable.cImage;
            oDBImageXCtrlDataContract.URL(conPeek(oImage, 3));
        }
        str sReturn;
        sReturn = FormJsonSerializer::serializeClass(oDBImageXCtrlDataContract);
        return sReturn;
    }
}
2. Create an X++ build class called "DBImageXCtrlBuild" with the following code:
[FormDesignControlAttribute("DBImageXCtrl")]
class DBImageXCtrlBuild extends FormBuildContainerControl
{
}
3. Create a class called "DBImageXCtrlDataContract" with the following code:
[DataContractAttribute]
class DBImageXCtrlDataContract extends FormDataContract
{
    FormProperty m_sURL;
    public void new()
    {
        super();
        m_sURL = this.properties().addProperty(methodStr(DBImageXCtrlDataContract, URL), Types::String);
    }
    [DataMemberAttribute("URL")]
    public str URL(str _value = m_sURL.parmValue())
    {
        if(!prmisDefault(_value))
        {
            m_sURL.parmValue(_value);
        }
        return _value;
    }
}
4. Create an HTM resource (DBImageXCtrlHTM – DBImageXCtrl.htm) with this markup:
<script src="/resources/scripts/DBImageXCtrl.js"></script>
<div id="DBImageXCtrl" data-dyn-bind="sizing: { height: $data.Height, width: $data.Width }, visible: $data.Visible">
</div>
5. Create a JS resource (DBImageXCtrlJS – DBImageXCtrl.js) with this code:
DBIC = {};
(function () {
    'use strict';
    $dyn.ui.defaults.DBImageXCtrl = {};
    $dyn.controls.DBImageXCtrl = function (data, element) {
        var self = this;
        $dyn.ui.Control.apply(self, arguments);
        $dyn.ui.applyDefaults(self, data, $dyn.ui.defaults.DBImageXCtrl);
        DBIC.ChangeImage = function (_sJSON)
        {
            var oObject = $.parseJSON(_sJSON, true);
            $(element).empty();
            $(element).append("<img src='" + oObject.URL + "' />");
        }
        DBIC.YieldCallFunction = function (_iKey) {
            var oParams = { _iKey: _iKey };
            $dyn.callFunction(self.GetImage, self, oParams, DBIC.ChangeImage);
        }
        $dyn.observe(this.Key, function (_iKey) {
            window.setTimeout(DBIC.YieldCallFunction, 0, _iKey);
            //You have to yield the code. If you eliminate the line above
            //and uncomment the following two will, the control will not work.
            //var oParams = { _iKey: _iKey };
            //$dyn.callFunction(self.GetImage, self, oParams, DBIC.ChangeImage);
        });
    }
    $dyn.controls.DBImageXCtrl.prototype = $dyn.extendPrototype($dyn.ui.Control.prototype, {});
})();
Create the Table that Populates the Grid.
To populate the grid, create a table called "DBImageXCtrlTable". This table will have three fields: iKey an Integer field, sDescription a String field (size 100) and cImage a container field. The Key will be the iKey field. The table will have this structure:
Create the Form with the Grid and the Control
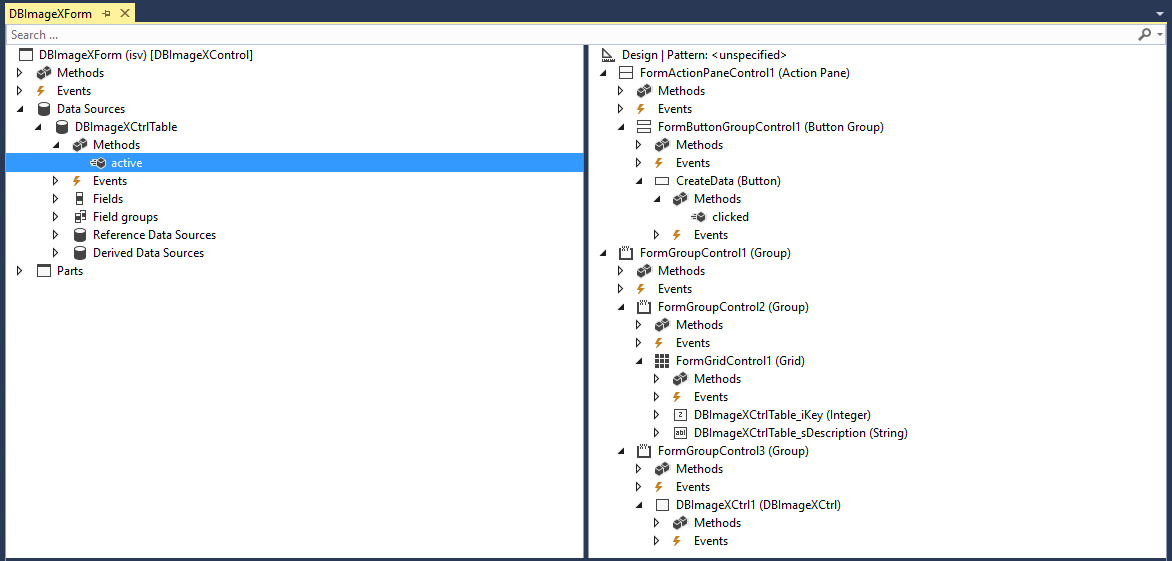
Create a form called "DBImageXForm" with the following structure:
The form will have:
A data source called "DBImageXCtrlTable" for the "DBImageXCtrlTable" table. This data source will have this code in the overridden "Active" method:
    [DataSource]
    class DBImageXCtrlTable
    {
        /// <summary>
        ///
        /// </summary>
        /// <returns></returns>
        public int active()
        {
            int ret;
            ret = super();
            print "active key:", DBImageXCtrlTable.iKey;
            DBImageXCtrl oDBImageXCtrl1 = DBImageXCtrl1;
            oDBImageXCtrl1.Key(DBImageXCtrlTable.iKey);
            return ret;
        }
    }
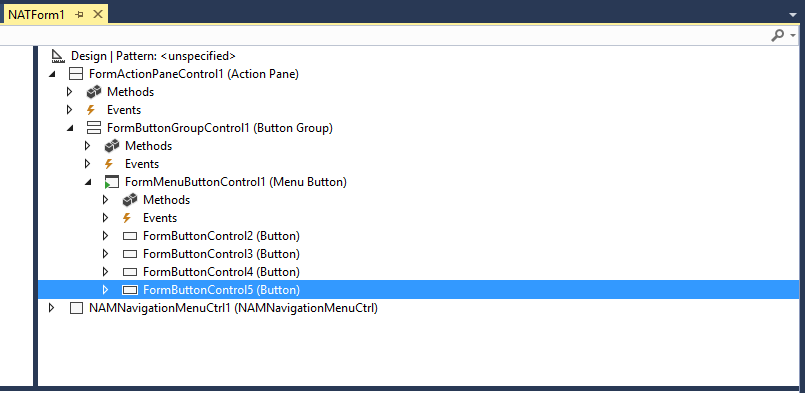
A "Create Data" button in an Action Pane with the overridden "click" method:
    [Control("Button")]
    class CreateData
    {
        /// <summary>
        ///
        /// </summary>
        public void clicked()
        {
            DBImageXCtrlTable oDBImageXCtrlTable;
            ImageReference oImageReference;
            delete_from oDBImageXCtrlTable;
            ttsbegin;
            oImageReference = ImageReference::constructForUrl("https://bootes.blob.core.windows.net/dbimagexctrl/Audi_A8_L_800.jpg");
            oDBImageXCtrlTable.iKey = 1;
            oDBImageXCtrlTable.sDescription = "Audi A8 L";
            oDBImageXCtrlTable.cImage = oImageReference.pack();
            oDBImageXCtrlTable.insert();
            oImageReference = ImageReference::constructForUrl("https://bootes.blob.core.windows.net/dbimagexctrl/Audi_RS3_Sportback_800.jpg");
            oDBImageXCtrlTable.iKey = 2;
            oDBImageXCtrlTable.sDescription = "Audi RS3 Sportback";
            oDBImageXCtrlTable.cImage = oImageReference.pack();
            oDBImageXCtrlTable.insert();
            oImageReference = ImageReference::constructForUrl("https://bootes.blob.core.windows.net/dbimagexctrl/Audi_RS4_Avant_800.jpg");
            oDBImageXCtrlTable.iKey = 3;
            oDBImageXCtrlTable.sDescription = "Audi RS4 Avant";
            oDBImageXCtrlTable.cImage = oImageReference.pack();
            oDBImageXCtrlTable.insert();
            oImageReference = ImageReference::constructForUrl("https://bootes.blob.core.windows.net/dbimagexctrl/Audi_RS5_Coupe_800.jpg");
            oDBImageXCtrlTable.iKey = 4;
            oDBImageXCtrlTable.sDescription = "Audi RS5 Coupe";
            oDBImageXCtrlTable.cImage = oImageReference.pack();
            oDBImageXCtrlTable.insert();
            oImageReference = ImageReference::constructForUrl("https://bootes.blob.core.windows.net/dbimagexctrl/Audi_SQ5_TFSI_800.jpg");
            oDBImageXCtrlTable.iKey = 5;
            oDBImageXCtrlTable.sDescription = "Audi SQ5 TFSI";
            oDBImageXCtrlTable.cImage = oImageReference.pack();
            oDBImageXCtrlTable.insert();
            ttscommit;
            DBImageXCtrlTable_ds.research();
            super();
        }
    }
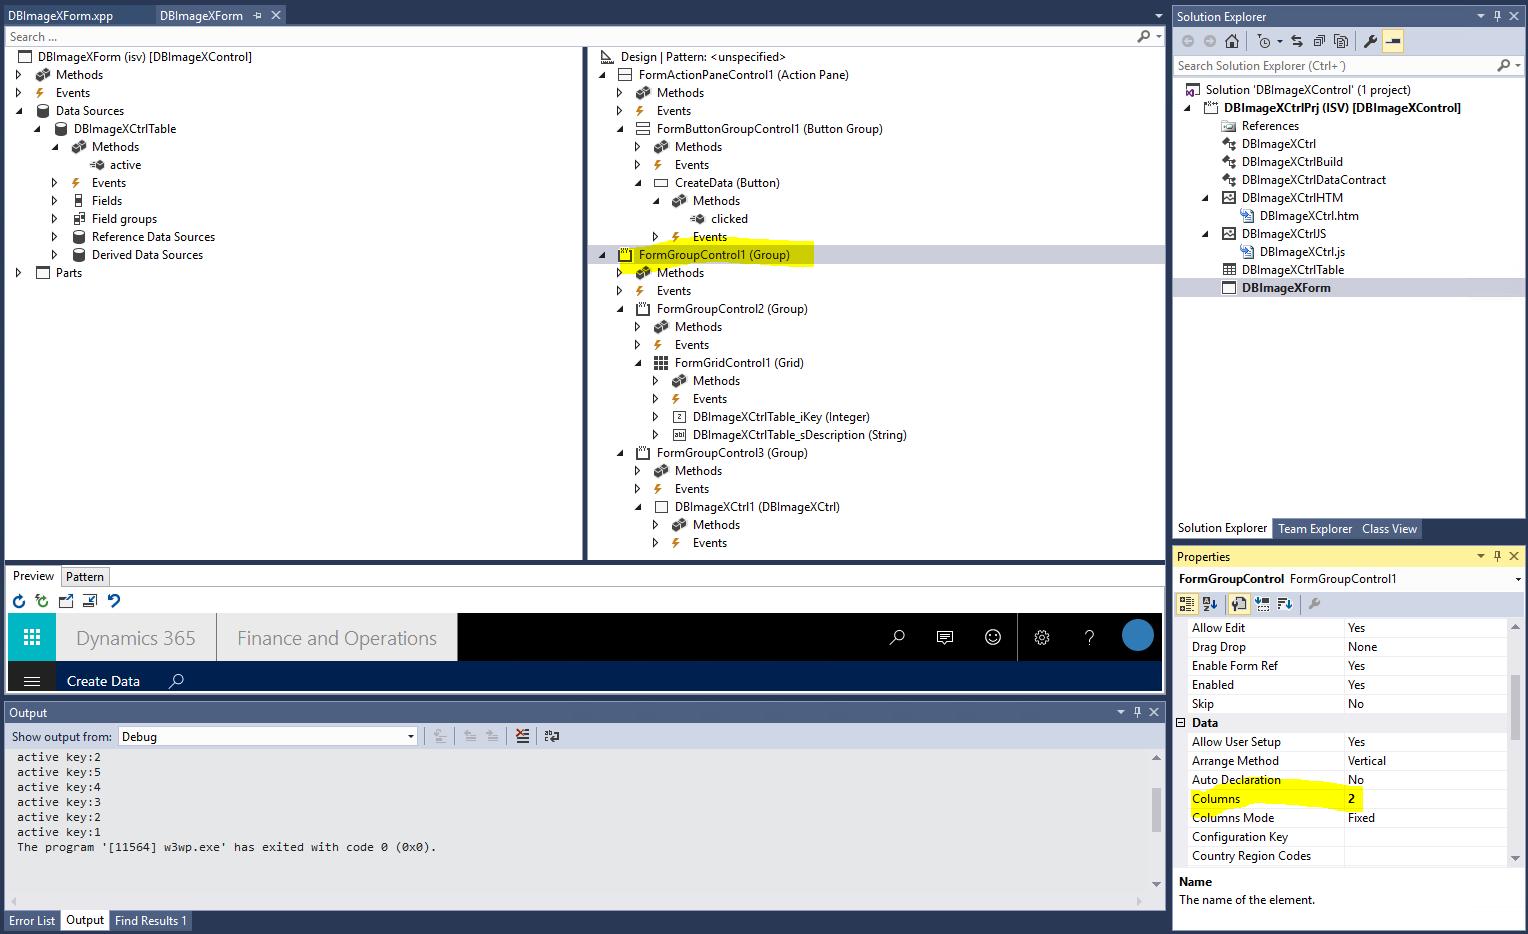
A group control with 2 columns:
A child group control with the grid:
Another child group with the DBImageXCtrl control: